
TL;DR
- Using Unify neural router to optimize LLM apps’ speed, latency and cost
- Configuring Charles Web Debugging Proxy to inspect HTTPS/SSL traffic
- Leveraging
truststoreto mitigate self-signed certificate errors in Python
Introduction
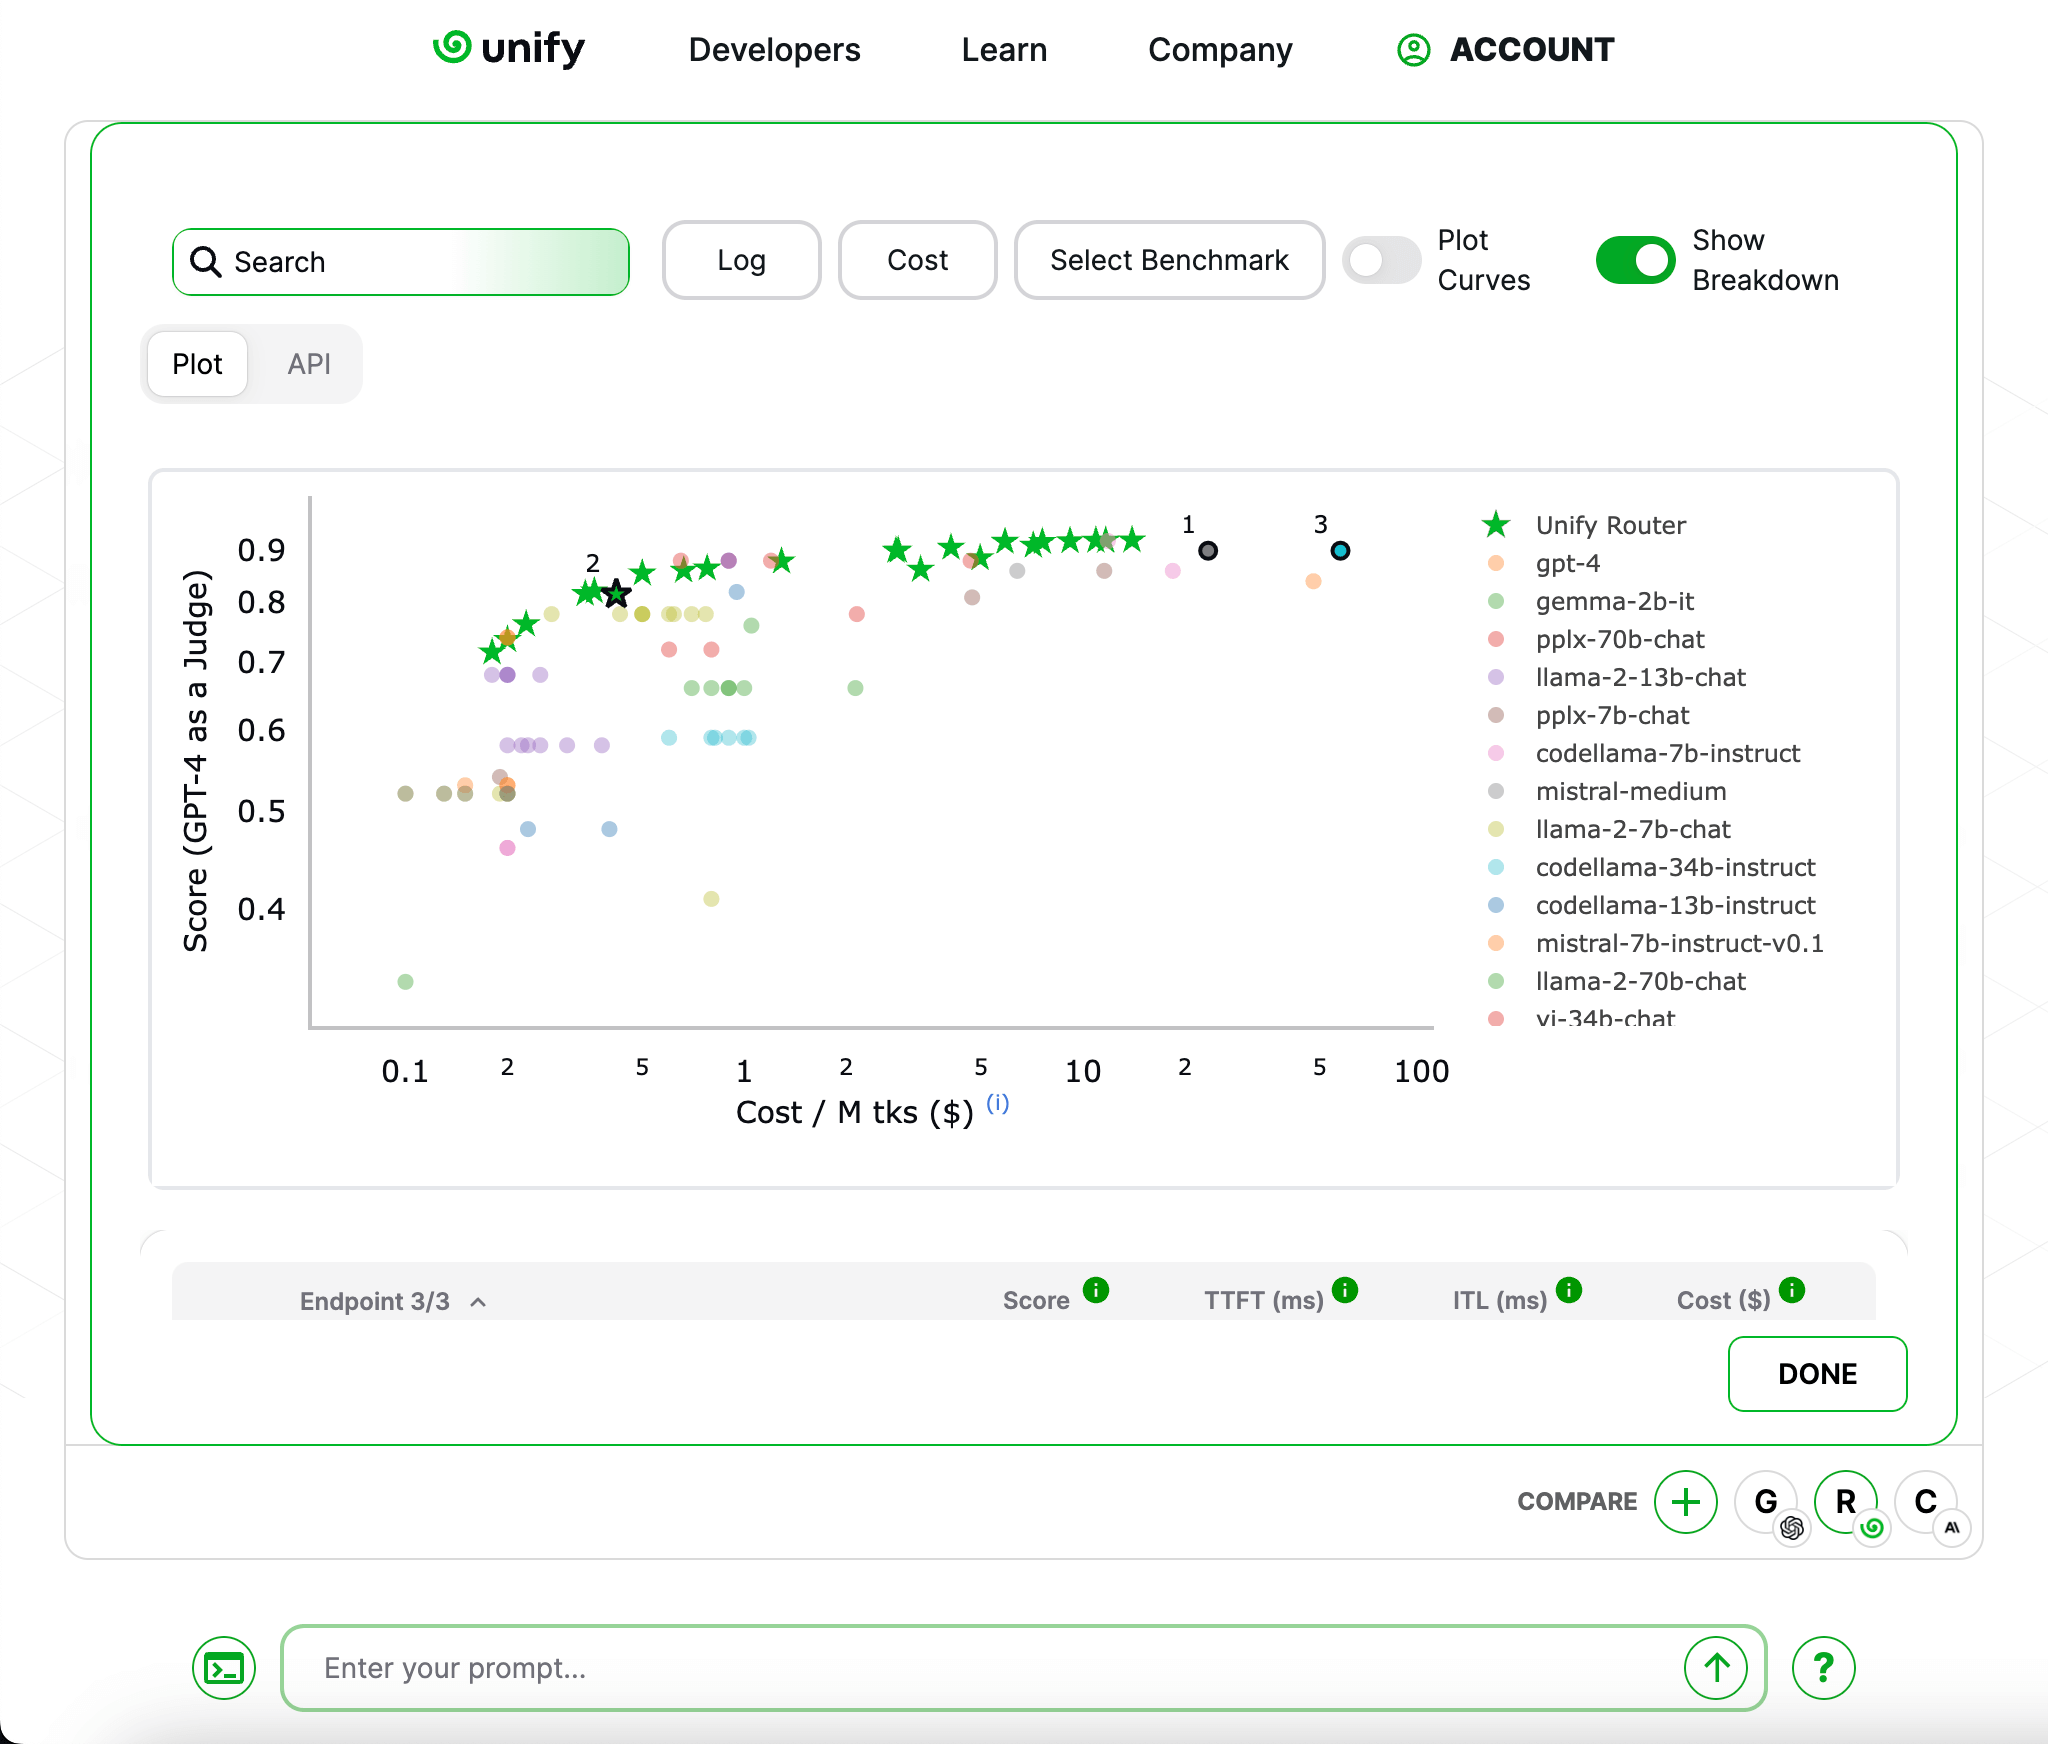
Unify is a neural router for LLM endpoints. It automatically selects and routes prompts to the best LLM endpoint to get the best output while optimizing for speed, latency, and cost to supercharge LLM applications.
It provides a Python SDK, but not a Ruby one. Integrating it into the project was an opportunity to practice Python. But this process was not smooth.
Using Unify neural router to optimize LLM apps’ speed, latency and cost
I followed their Making Your First Request tutorial to learn how to use the platform. These were the steps:
- Sign up on the Unify website
- Copy the default API key from the Unify console
- Add the API key to an
.envfile - Create a Python script with code to initialize the Unify client and generate a response
from unify import Unify, list_models, list_providers
from dotenv import load_dotenv

load_dotenv()

unify = Unify("mistral-7b-instruct-v0.2@fireworks-ai")

response = unify.generate("Does discipline equal freedom?")
I ran the Python script but didn’t see any output or errors. I wasn’t sure if the API was responding correctly.
Configuring Charles Web Debugging Proxy to inspect HTTPS/SSL traffic
Then I launched Charles Web Debugging Proxy to debug the Unify API requests. This tool lets developers inspect HTTP and HTTPS traffic between a client and server.
I enabled the macOS proxy in Charles (Proxy > macOS Proxy) and re-ran the Python script. However, the request was
encrypted with SSL.
Charles has SSL debugging, allowing decryption of encrypted data to review/troubleshoot the transmitted content. So I configured it:
- Add
api.unify.ai:443to the SSL proxy settingsProxy > SSL Proxying Settings... - Install the Charles root certificate:
Help > SSL Proxying > Install Charles Root Certificate - Trust the certificate in Keychain Access
- Enable SSL Proxying:
Proxy > Start SSL Proxying
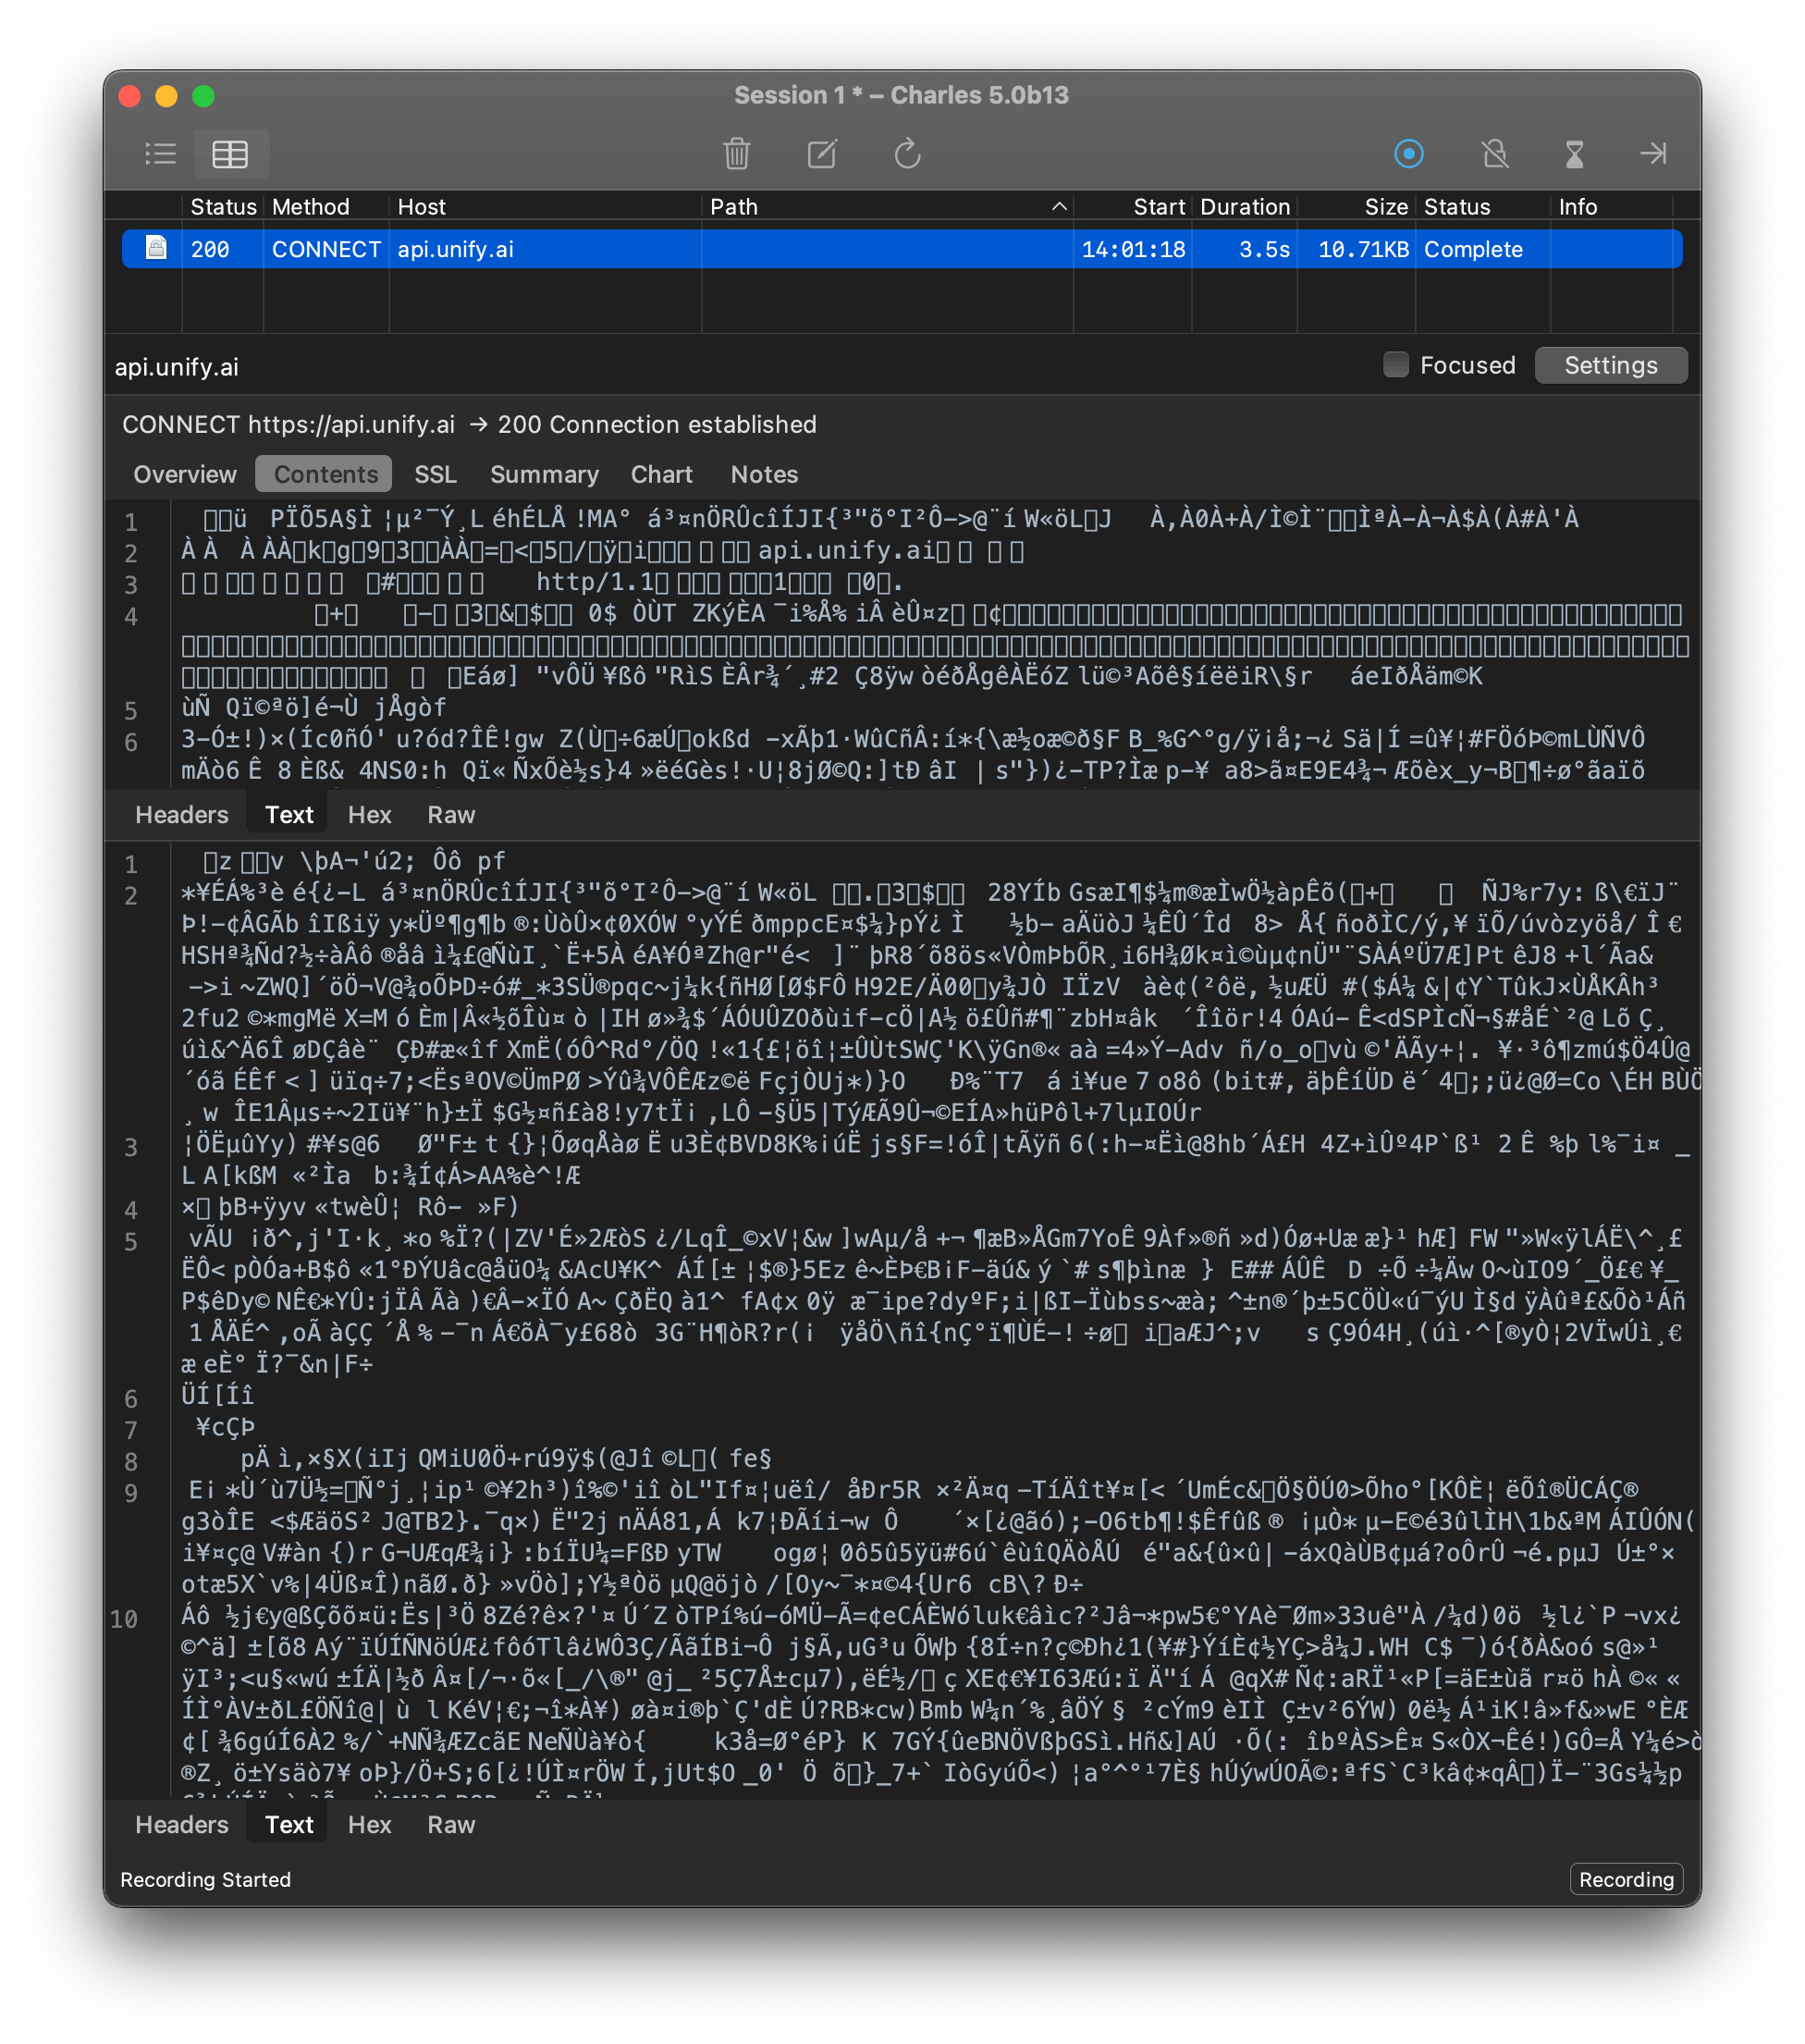
I had SSL proxying set up, but I still couldn’t see the traffic. Running the Python script now threw an SSL certificate verification error:
[SSL: CERTIFICATE_VERIFY_FAILED] certificate verify failed:
self-signed certificate in certificate chain (_ssl.c:1000)
Leveraging truststore to mitigate self-signed certificate errors in Python
To resolve the self-signed certificate error, I tried many approaches and all led to frustration. Here’s what worked:
First, I installed the truststore package:
pip install truststoreThen, at the top of my Python script, I added:
import truststore
truststore.inject_into_ssl()
After this, I could see the decrypted request in Charles:
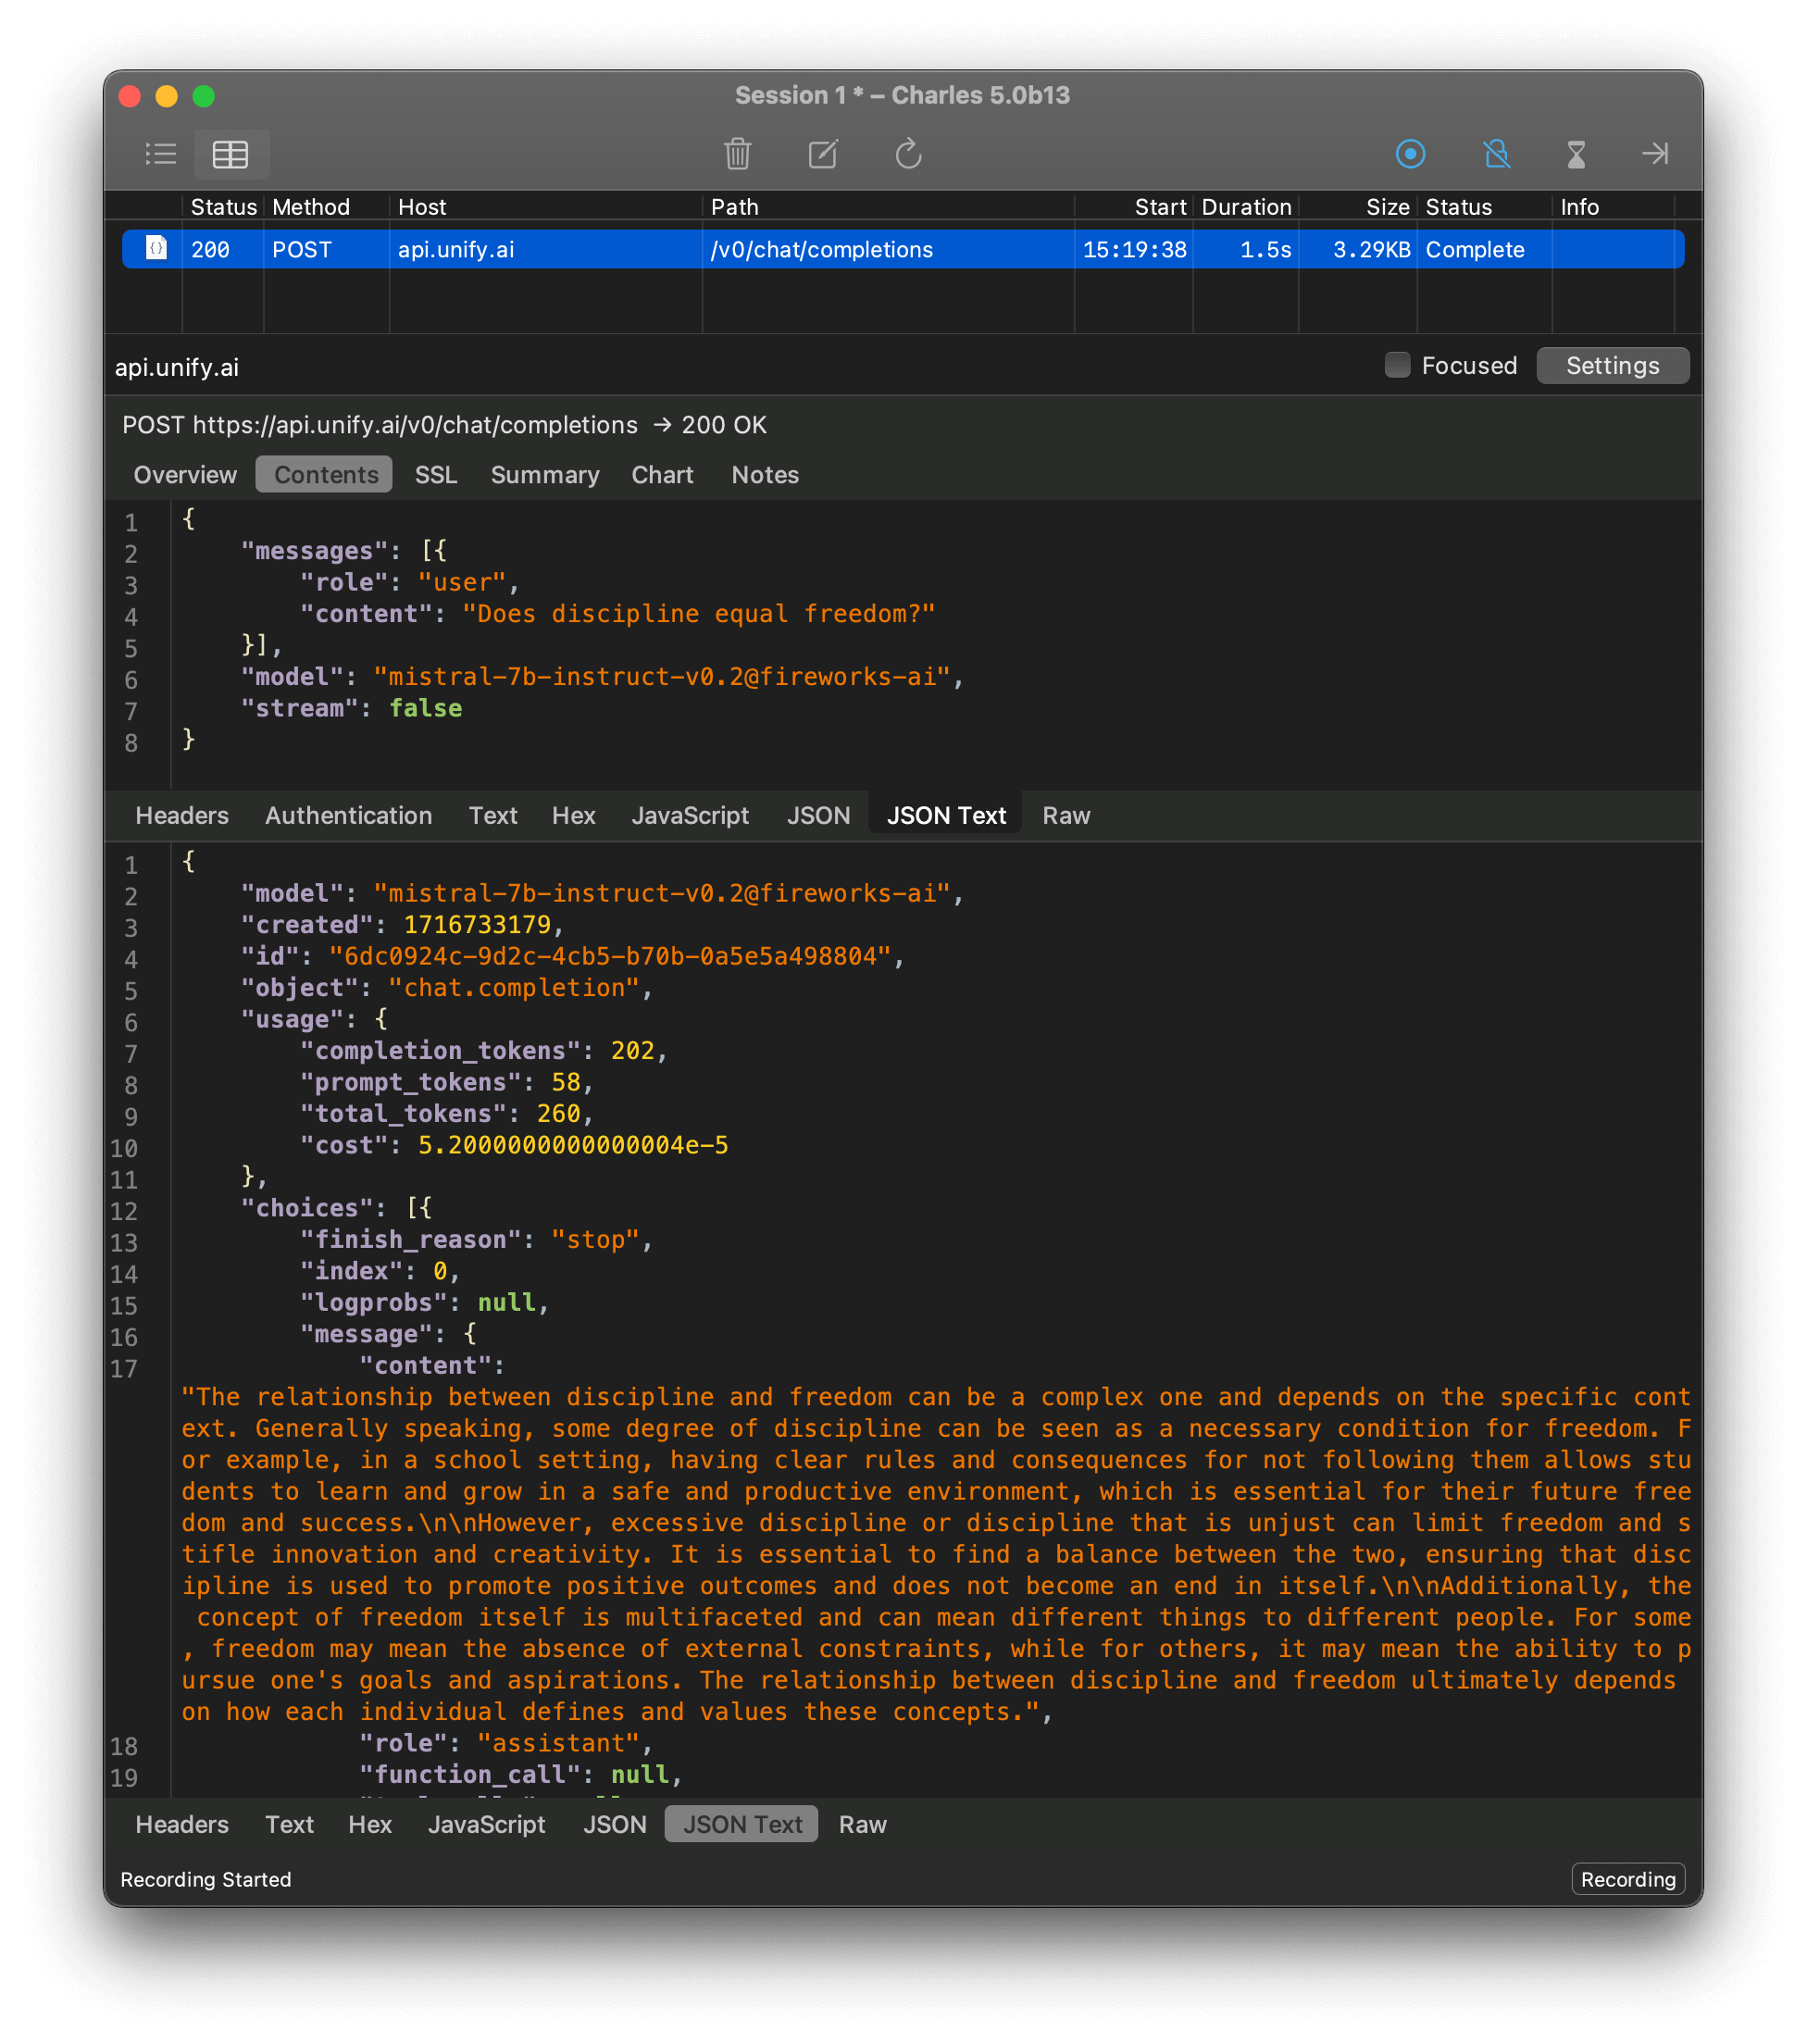
But why didn’t I see them in the terminal? I forgot to print the response 😂:
from unify import Unify, list_models, list_providers
from dotenv import load_dotenv

load_dotenv()

unify = Unify("mistral-7b-instruct-v0.2@fireworks-ai")

response = unify.generate("Does discipline equal freedom?")

print(response) # <- Catalyst for learning
Conclusion
Who knew forgetting a print statement could be so educational? 😅 Turns out, tiny mistakes can lead to big learnings,
like mastering debugging tools and sharing knowledge through blog posts.